Accessorize your carrier
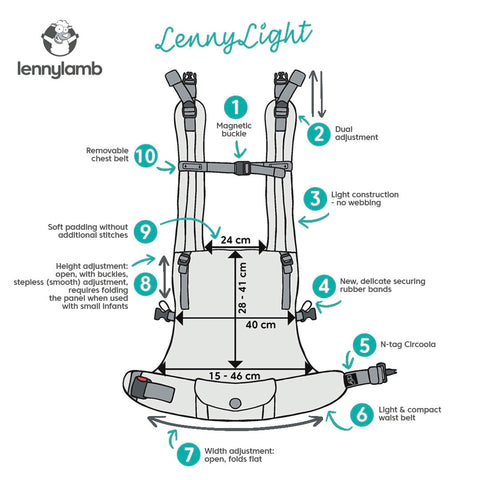
The must have items for your Lenny Light


Airglow is a lightweight fabric. It’s great for new baby wearers and young babies. Airglow is soft and radiant. The ombre glows and is so helpful for learning!
Design Description - Airglow is perfection. A gorgeous gradient that starts with a deep blue, then teal to green finally to grey. Easy to learn with and absolutely stunning. You’ll love Airglow’s neutral tones and rich hues. This design is ready for anything!
Type of weave - Broken Twill
Material Weight - 200 gsm
Material Type - 100% Cotton
Safety certificates
Complies with PD CEN/TR 16512:2015 and ASTM F2236 - 16a

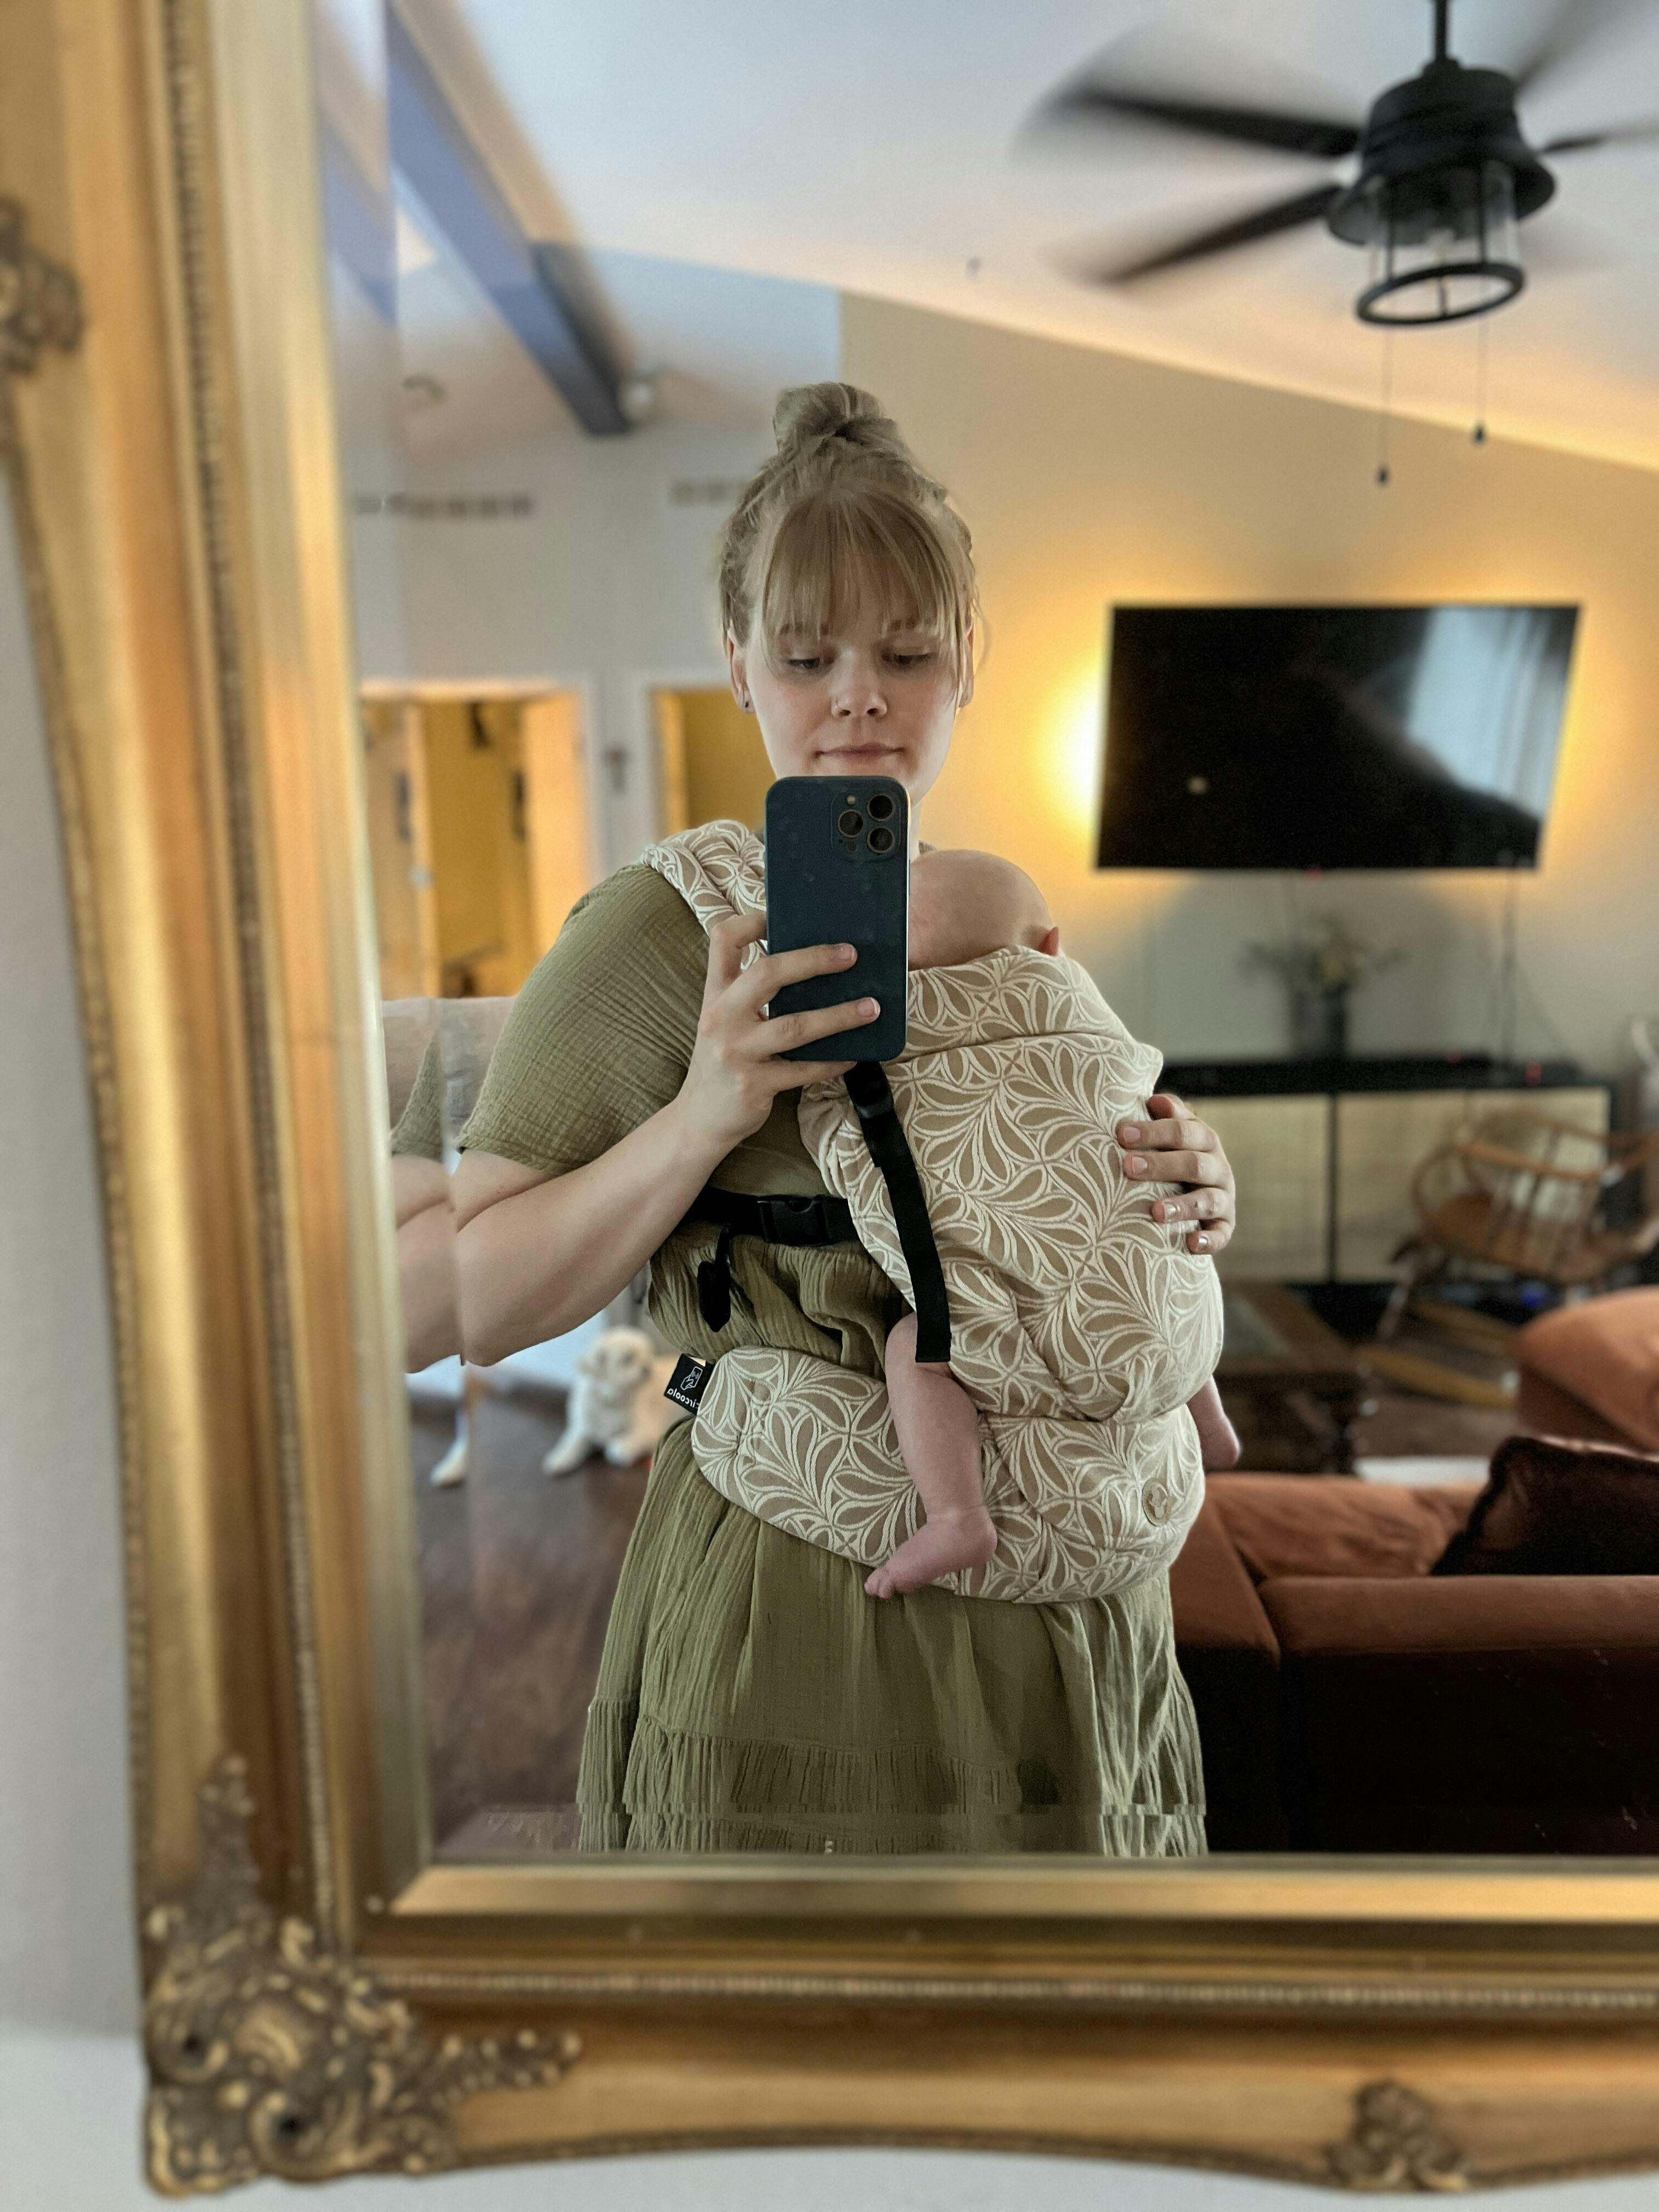
Carry your baby in front of you facing in

Crossing the straps can help you be more comforable!

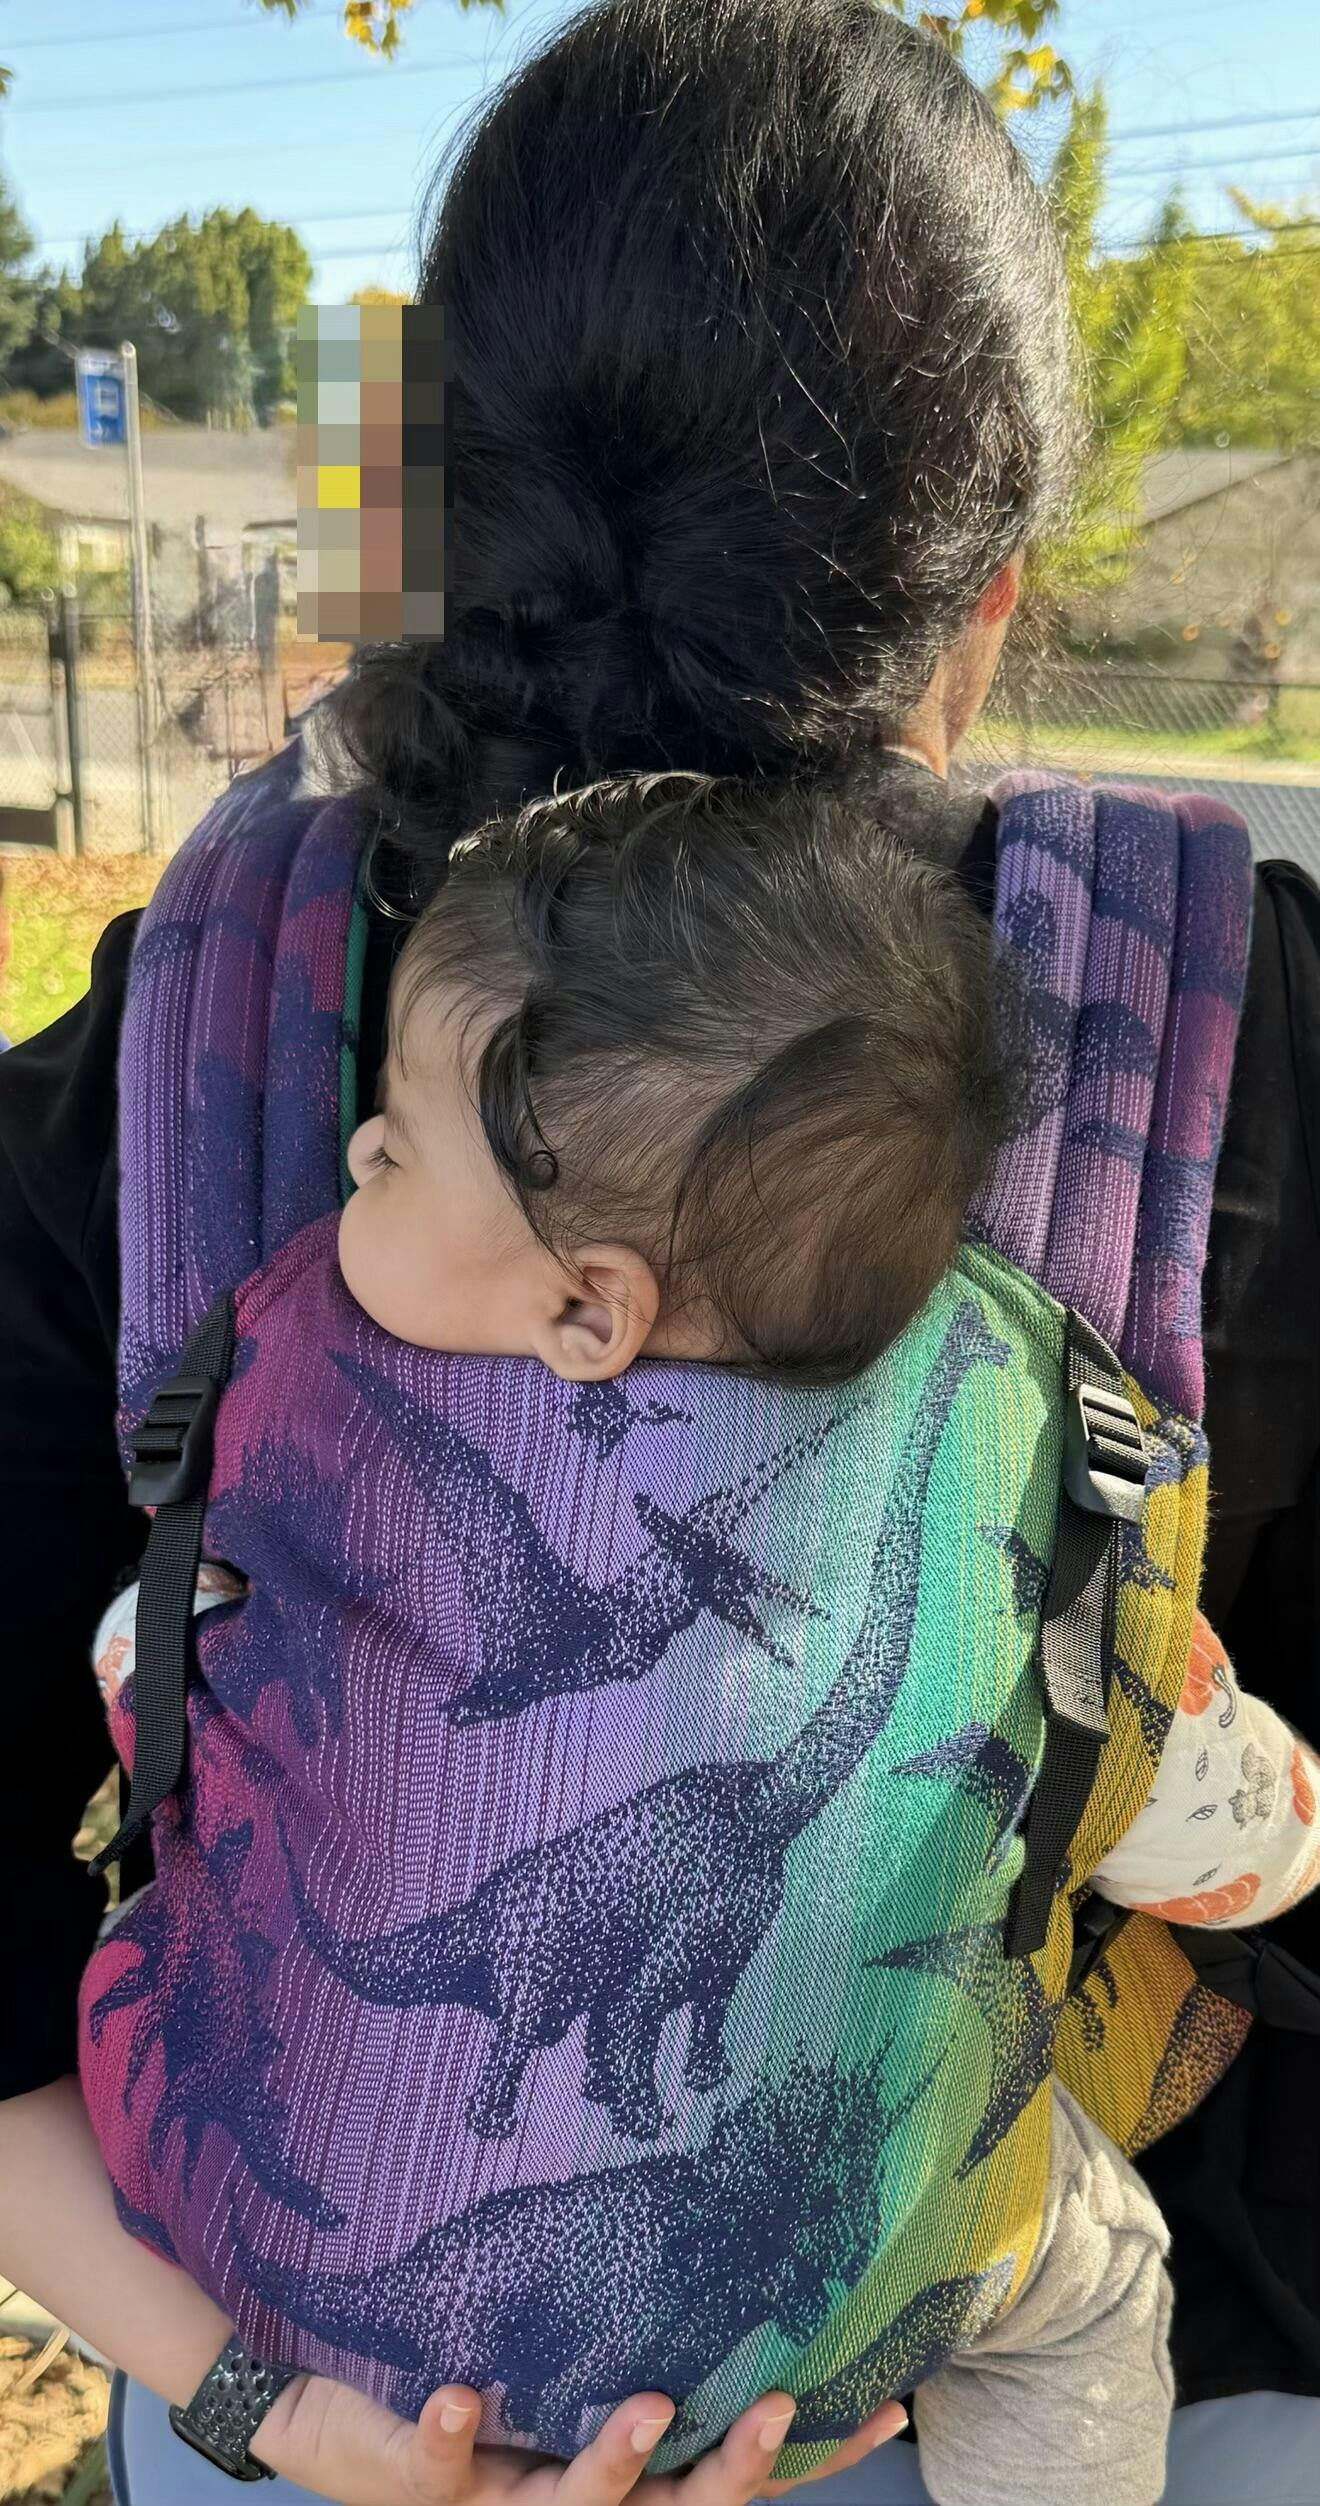
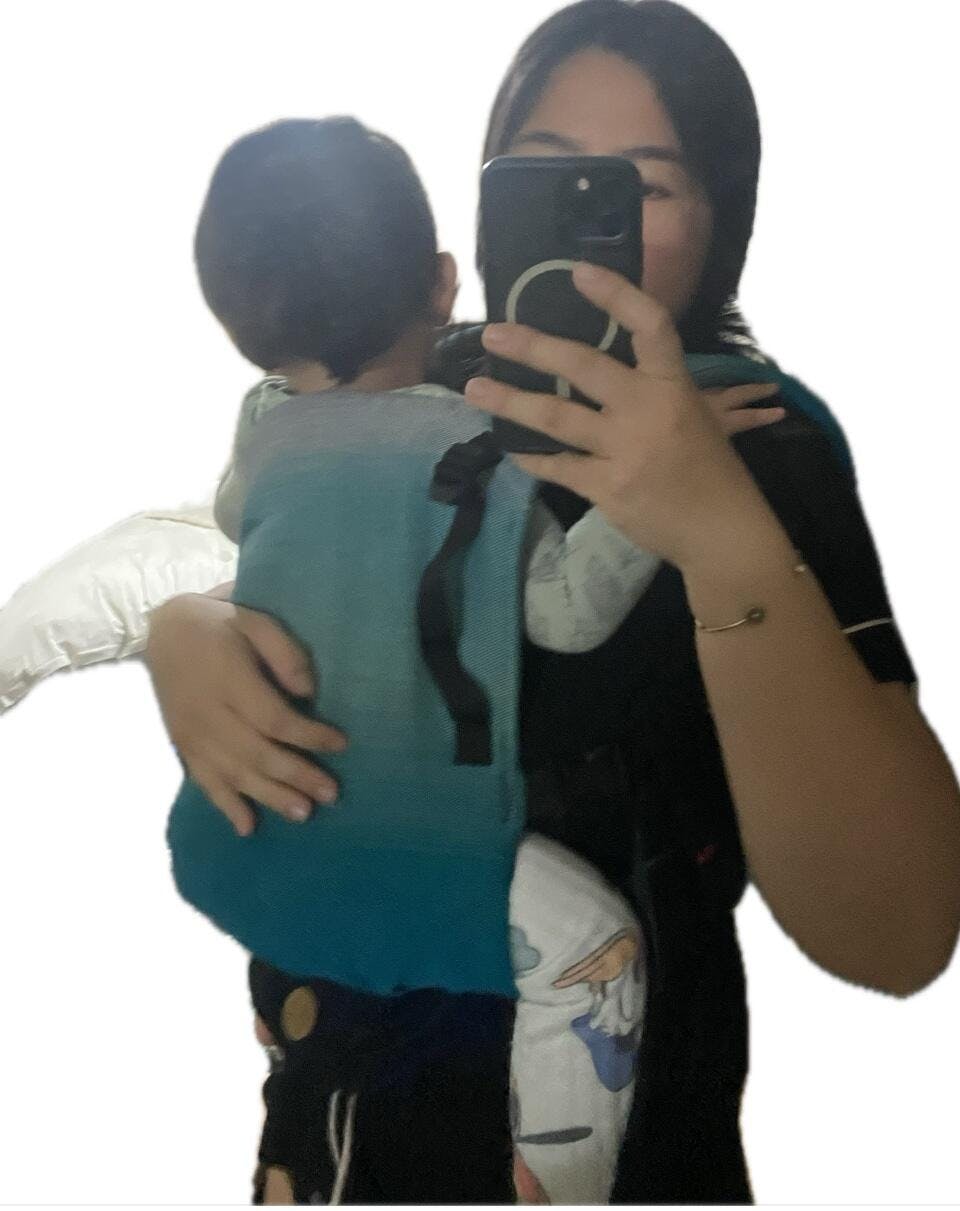
Carry your child on your back

Cross the straps and allow your kiddo to be on your hip
Please know, this carrier does not come with a hood, but can be purchased seperately here.

The adjustable panel allows for you to use this carrier for years with your child

A convenient pocket to hold your keys, phone, and other small goodies you may need while out walking with your child

A scannable tag to tell you all about the fabric
lenny-Light

Lenny Preschooler
Watch how easy it is to size the LennyLight for your child
Watch how easy it is to size the LennyLight for your child
Watch to see how there are different ways to use the LennyLight!
Watch to see how there are different ways to use the LennyLight!
The must have items for your Lenny Light


Check out all of the accessories you can get to match your carrier


A short list of reasons to love Mama & Roo's Babywearing Baby Carriers! What makes us so special? Here are just a few ways... Others: To get help with your...

It's all anyone's talking about... 💫 Tariffs! 💫 Watch the video above as we talk through tariff updates, fall plans, and more at Mama & Roo's Okay, maybe it's...

One of the most common questions we get asked is, "How do I carry my baby on my back?" Mama & Roo's Founder Alexandra demonstrates a crossed arm method to...

At Mama & Roo's, we often have customers contact us concerned about choosing a "lightweight" baby carrier. And it's understandable - we're based in the US, and a LOT of...

Love looking at wraps, but have no idea why some colors are more expensive than other? What difference does a weave make? Is one fabric better than another for xyz...

A mother wears her child in a baby backpack carrier in design Airglow with matching Airglow suck pads. Join Mama & Roo's babywearing educator and customer service rep Jessi...

Customers will often ask us if a particular carrier is plus-size friendly. And the answer is: Yes! What's the best carrier for plus size parents? Whichever carrier is right for...

Hey there! I was reminded of something really important, and I wanted to share it with you! Hear my reflections in the short video below, and read more about...

Sometimes it's easier to show than tell! Watch Mama & Roo's babywearing educator Amanda adjust her baby in the seat of her LennyLight. Notice how she: -Holds the waistband...

Sometimes it's easier to show than tell! Watch Mama & Roo's babywearing educator Amanda adjust her baby in the seat of her LennyLight for nursing. To nurse your baby...

Returning a carrier is even easier with our new returns portal! Hang onto the packaging when your carrier arrives. Try it out! Let us know if you need help. If...

Model looking lovingly at her baby in a front carry in a Lenny Upgrade soft structured carrier, print Cobalt. The biggest selling point of the Lenny Upgrade carrier...

Congratulations! Expecting a new baby is an exciting time. Did you know that you can use a universal registry like Babylist to add products from any store? That includes Mama...

I wore my son in a carrier for the first time when he was 7 days old. My husband had his first RCIA meeting, and I was his sponsor. When...
View all the LennyLight SSC designs we have available